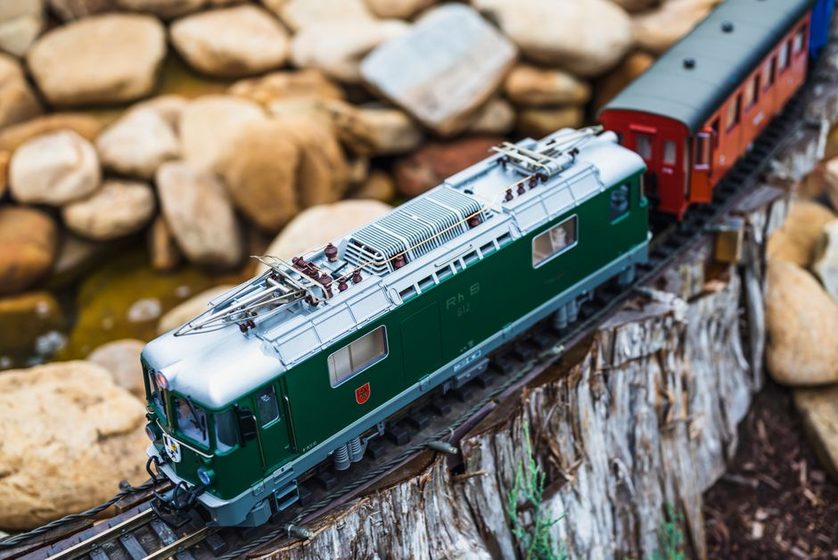
The first operating session on a new layout usually goes one of two ways. Either everyone stands around the fascia trying to decide what to do next, or someone hands out a slip of paper and the room goes quiet except for the click of couplers finding each other. The difference isn't skill, and it isn't the track plan. It's whether anyone wrote a switch list before the first locomotive left the yard.
What a Switch List Actually Is
A switch list is a job order for one crew at one location: which cars move, where they're picked up, and where they're set out. It has nothing to say about departure times or which train runs when — that's the domain of the working timetable, and the two documents work best when they're kept separate. Reading a working timetable tells a crew when to be somewhere; the switch list tells them what to do once they arrive. Conflate the two on a first session and new operators end up trying to read a spreadsheet instead of running a railroad.
On a full-size railroad the switch list came from a clerk who tracked waybills and told the yard crew what the day's work looked like. At home scale, you're the clerk, the dispatcher and usually the crew as well — at least until the list exists. Once it does, a guest operator can pick it up cold and understand the job in under a minute.
Start From the Track Plan, Not the Timetable
Resist the urge to write the list from memory of "how sessions usually go." Walk the plan instead, point by point, and note every spot that can legitimately hold a car: a siding, a team track, a spur behind the feed mill, the headshunt if it's long enough to double as storage. A siding that earns its space earns it precisely because it shows up on a list like this — if a track never appears as an origin or destination, it's scenery, not railroad, and it's fair to ask why it's there at all.
For a spare-room layout this walk rarely takes more than ten minutes, and it's worth doing even if you think you already know the plan by heart. Sightlines lie. A siding that looks obvious from the aisle gets missed on paper more often than you'd expect.
Turn Spots Into Moves
Once you have your list of locations, pair them up. Every move needs an origin and a destination, and a short note on what's actually happening — loading, unloading, or just storage. Here's what four moves look like written out for a small industrial branch:
| Car | From | To | Notes |
|---|---|---|---|
| Boxcar 4471 | Interchange | Feed mill spur | Spot against the door, brake set |
| Gondola 1182 | Team track | Yard, track 2 | Empty, ready to return |
| Tank 9034 | Yard, track 1 | Fuel siding | Leave coupled; unloads overnight |
| Hopper 6620 | Fuel siding | Interchange | Loaded, outbound next session |
Four lines, and already the session has a shape. A crew working this list has a clear stopping point — the list is done — instead of the vaguer, more tiring question of "have we done enough shunting yet?"
Sequencing: Which Move Goes First
Order matters more than most first-timers expect. A car blocking a siding has to move before the car behind it can, and a headshunt only has so much room to store cars mid-job. Work out the order on paper before the session, not live in front of a guest operator.
A switch list that reads in any order is really just an inventory. A switch list that reads in one order — and only one, because the track won't allow otherwise — is what makes a session feel like real railroading instead of a puzzle with the pieces already solved.
Points and runarounds are usually where sequencing gets interesting. If a locomotive needs to run around its cut of wagons partway through the list, that move needs its own line, even though no car moves anywhere. Leave it off and the first-time operator will discover the problem the hard way, with a cut of cars trapped against a point they didn't expect to need.
A Worked Example, Car by Car
Take the four-line list above and imagine the room. The gondola has to clear the team track before anything new can be spotted there, so it moves first. The boxcar into the feed mill spur is independent of everything else and can happen any time. The tank car and the hopper are linked — the hopper can't leave the fuel siding until the tank car has vacated the yard track it needs to pass through — so those two are locked into an order whether the list says so explicitly or not.
A habit worth keeping
Write one car per index card instead of one long sheet. Cards can be dealt out to separate crews, shuffled to change the order between sessions, and set aside as "done" — a small mechanical satisfaction that a printed sheet doesn't give you.
Running the List Without Getting Stuck
A few habits keep a first switch list from turning into a stall on the layout:
- Keep the list to what a crew can finish in the time you've actually got — six or eight moves is plenty for a first go.
- Write car reporting marks, not just "the blue boxcar." Someone else's blue boxcar looks different from yours.
- Note the headshunt's capacity in cars, so nobody discovers it's full mid-move.
- Leave the last line blank for "next session starts here" — it saves rebuilding the list from scratch next time.
None of this needs to be elaborate. A pencil, an index card per car, and ten minutes with the track plan is the whole method — the value is in doing it before the session starts, not in doing it well the first time.
A note on scope. This is a description of a common hobby practice, offered for background — not instruction for any specific layout, prototype, or operating group's rules. Conventions for switch lists vary widely between clubs and eras; treat this as one starting point among many, not a standard.