Benchwork for a Corner Shelf Layout
A corner shelf lives or dies on the joint, not the scenery. Get the framing right first and the track plan stops fighting you.
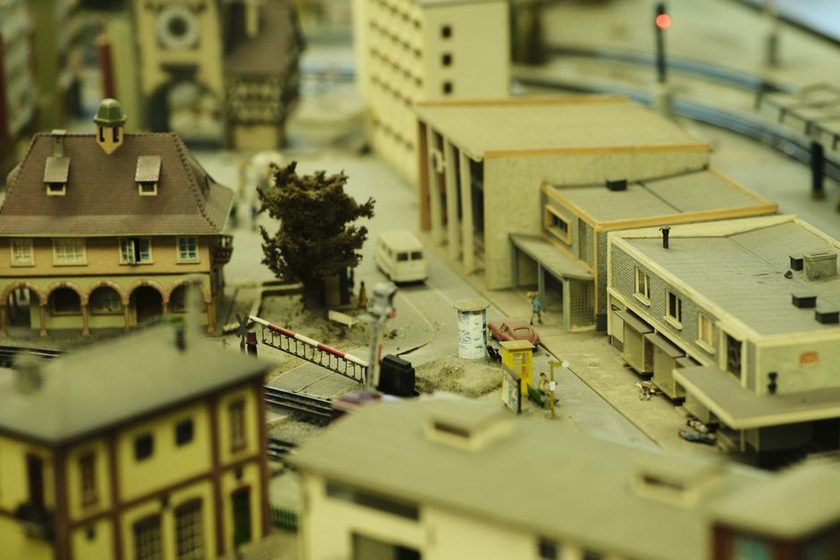
The corner is where most spare-room layouts either come together or come apart. A run of shelf along one wall is simple carpentry — brackets, a ledger, a flat top — but the moment the benchwork turns ninety degrees, the questions multiply. Does the roadbed cross the joint as one continuous piece or two that meet mid-curve? Does the backdrop turn with it, or stop short and leave a gap that reads as a gap for the rest of the layout's life? Most builders answer these questions with lumber first and track plan second, then spend a winter fighting a curve that was never going to sit right on the frame they built for it. The order matters more than the materials.
Why the corner decides the plan, not the other way around
On a straight shelf, benchwork is nearly an afterthought — any reasonably rigid box under a flat top will hold track. A corner changes the geometry problem entirely. The minimum radius you can fit is set by the depth of the two shelf runs meeting there, and that depth is a decision you make with a saw, weeks before you know exactly how the curve will land. Draw the curve on paper at full scale before cutting anything. A radius that looks generous in a scale drawing can turn out uncomfortably tight once you account for the width of a locomotive's pilot beam or the swing of a long passenger car through the curve — see our notes on what minimum radius really costs you for the geometry behind that squeeze.
The corner also decides where your operating access lives. A shelf that turns a corner without a duckunder or a lift-out usually means reaching across the curve from both sides, which caps how deep the corner module can be before the far rail becomes unreachable. Eighteen inches of reach from a comfortable standing position is a reasonable working limit; anything past that and you're leaning on scenery to change a turnout.
Every layout has exactly one corner joint that gets built twice — once in a hurry, and once correctly, after the first curve refuses to sit flat.
Framing the two shelves as one structure
Treat the corner not as two shelves that happen to meet, but as a single L-shaped frame with a shared corner brace. A ledger strip screwed into studs carries the load along the wall; the corner itself needs its own support leg or bracket pair, because the ledger alone will flex exactly where the two runs meet and the flex shows up as a dip in the rail joint. Plywood gussets across the inside corner, glued and screwed to both the front rail and the ledger, do more to stop that flex than any amount of extra bracketry along the straight runs.
Keep the framing members consistent in height and material across the whole L. Mixing a 1x4 ledger on one wall with a 1x3 on the return wall introduces a step in the subroadbed that no amount of shimming quite disappears — it turns into a barely perceptible kink that shows up as a slight click every time a wheelset crosses it.
Callout — cut the corner top as one piece
If your plywood sheet is large enough, cut the corner subroadbed as a single L-shaped piece rather than two rectangles butted together. One piece removes the seam exactly where the curve is tightest and hardest to align later — the two-piece version asks you to align a curved joint on your knees, under the layout, after the frame is already screwed to the wall.
Backdrop, benchwork, and the corner that has to agree with both
The backdrop and the benchwork need to turn the corner together, or the scenery ends up apologizing for a structural decision made months earlier. A curved backdrop insert — thin hardboard bent around a form — reads far better than a mitred butt joint at the corner, and it's more forgiving of small errors in the framing underneath. Plan the backdrop's radius before the benchwork goes up, because retrofitting a curved backdrop onto square-cut framing usually means notching brackets you've already installed.
This is also where a siding earns or loses its keep. A corner is tempting real estate for a passing siding because it looks like "extra" space, but a siding that only exists because there was room for it rarely gets used in an operating session. Decide what the siding is for — a runaround, an interchange track, a spot for a single industry — before you frame for it; the piece on the siding that earns its space covers how to make that call honestly.
A rough materials list for one 90° corner module
| Component | Typical stock | Purpose |
|---|---|---|
| Ledger strips (both walls) | 1x4 pine, same stock both sides | Carries the load into the wall studs |
| Corner brace / gusset | 3/4" plywood offcut | Stops flex at the joint between the two runs |
| Subroadbed | 1/2" plywood, cut as one L-shaped piece | Removes the seam from the tightest part of the curve |
| Support leg or bracket, corner | Adjustable shelf bracket or a single leg | Independent support so the corner doesn't rely on the ledger alone |
| Backdrop insert | 1/8" hardboard, bent to a form | Carries the scenic backdrop through the turn without a seam |
Scale changes what the corner can hold
The same corner footprint behaves very differently depending on scale. In HO, a corner deep enough for a comfortable 24-inch curve eats a meaningful chunk of a small room; the same footprint in N scale leaves room for a genuine operating siding on the same curve radius, or a slightly easier curve at the same depth. That tradeoff is worth working through before committing lumber — our comparison of N scale versus HO in a small room lays out where each scale's corner math starts to pay off.
- Deeper corner, larger scale — fewer operating features fit, but the curve reads more naturally.
- Shallower corner, smaller scale — room for a siding or a headshunt on the same wall footprint.
- Either way, the corner's depth is fixed once the frame is built — decide the tradeoff before the saw, not after.
Sequencing the build so nothing gets built twice
Frame the corner and its two adjoining runs before laying any track, even provisional track, anywhere on the layout. It's tempting to get one straight section operating early for the satisfaction of it, but a corner built after the fact rarely lines up with a curve that was designed in isolation. Build the frame, lay the subroadbed as one continuous surface through the corner, then plan track centerlines with the actual physical piece in front of you rather than the paper drawing alone — paper doesn't show you where a stud interferes with a leg, or where the room's baseboard heater eats three inches you'd counted on.
A note on scope: this piece describes framing choices we've made and found durable on our own shelf layouts. It isn't a substitute for basic carpentry safety practice or your own room's structural realities — stud spacing, wall material and load limits vary, and a corner bracket that works in one house may need a different fastener in another.
Once the corner is framed and the subroadbed is down, the rest of the layout tends to follow more easily — a well-built corner sets the datum that everything else measures from, including where a fiddle yard or staging area might tuck in behind the scenery. Get the joint right, and the track plan stops being a negotiation with the lumber.